
Painting a Watercolor Mountain Sunrise Landscape
Share
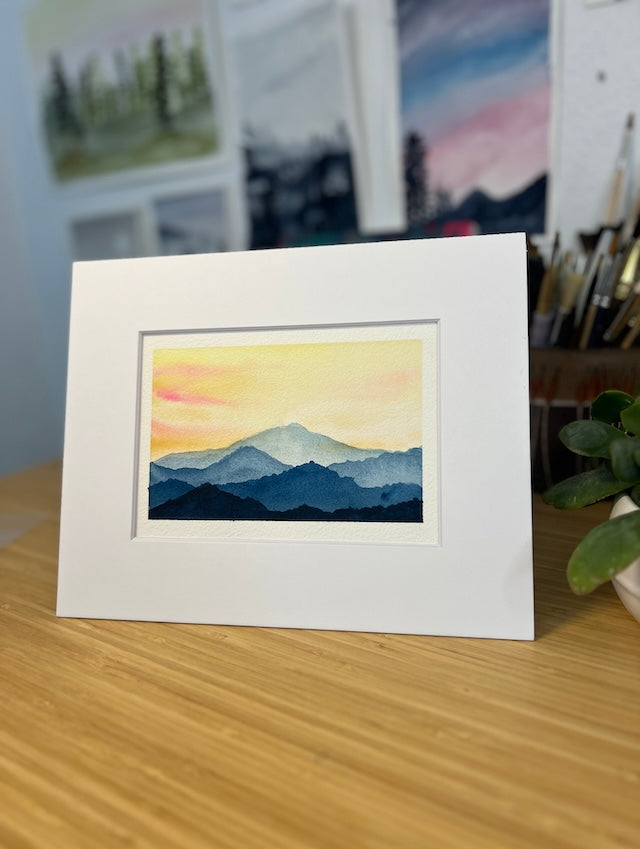
In this tutorial, learn how to create a stunning watercolor mountain sunrise landscape with simple and easy-to-follow steps. Perfect for beginners and experienced artists alike, this video will guide you through the entire process, from preparing your materials to adding final touches.
Materials Needed:
- Watercolor paper
- Watercolor paints (yellow, orange, pink, blue, purple, gray)
- Brushes (round and flat)
- Water container
- Paper towels
- Painter’s tape (optional)
Steps Covered in the Video:
-
Preparation:
- Tape the edges of your watercolor paper to a flat surface for clean borders.
- Lightly sketch the outline of the mountains and the horizon line.
-
Painting the Sky:
- Wet the sky area above the horizon line to prepare for the wet-on-wet technique.
- Apply a light wash of yellow near the horizon, blending into orange, pink, and finally blue or purple at the top.
-
Painting the Mountains:
- Once the sky is dry, paint the distant mountains using lighter shades of blue and gray.
- Gradually add darker shades for the mountains in the foreground, creating depth and dimension.
-
Adding Details:
- Use a smaller brush to add shadows and details to the mountains, focusing on creases and slopes.
- Enhance the base of the mountains with darker colors to indicate shadows from the rising sun.
-
Final Touches:
- Add any additional elements, such as trees or reflections, to complete your landscape.
- Allow the painting to dry completely before removing the painter’s tape.