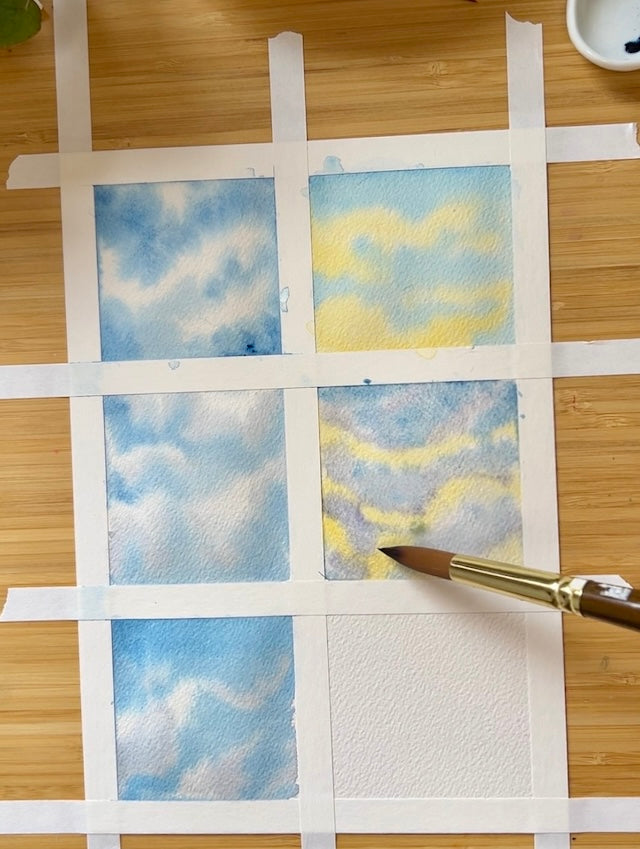
Painting Watercolor Clouds - An Easy Practice Lesson
Share
Here is a quick and fun way to practice painting clouds.
Painting clouds in watercolor involves several key techniques to achieve a realistic and soft appearance. Here are some steps to guide you:
- Start with a Wet-on-Wet Technique: Begin by wetting the area of the paper where you want to paint the sky. This allows the colors to blend smoothly. Apply a light wash of blue for the sky, leaving areas where the clouds will be white or lighter.
- Lift Out the Clouds: While the paint is still wet, use a clean, damp brush or a tissue to lift out the paint where you want the clouds to be. This will create the soft, fluffy edges typical of clouds. This technique is demonstrated in this tutorial.
- Add Depth with Layers: Once the initial wash is dry, you can add more layers to create depth. Use a slightly darker blue or gray to add shadows to the bottom of the clouds, giving them volume and dimension.
- Use Varied Brush Strokes: Use different sides of your brush and vary your marks to create natural-looking cloud formations. Don’t try to replicate a reference photo exactly; instead, focus on capturing the essence and movement of the clouds.
- Final Touches: Once the painting is dry, you can add final touches, such as softening edges or adding more shadows, to enhance the realism.
By following these steps, you can create beautiful, realistic clouds in your watercolor paintings.
